Looking for something?
You know what you’re lovingly-polished, perfectly-perfect logo design needs to up it’s game? Some grit. Last week, the Hoods spoke at Laguna College of Art & Design and the students wanted to know how to create grit effects on their designs, so let’s explore a couple ways you can add texture to your immaculate design and take it from “ooh” to “AHH”, fireworks-style.
Choose a vector graphic you’d like to add texture to. Start with something one color. Make sure that all the elements in the vector graphic have been ungrouped and then make them into a compound path (use your key command shortcut by selecting the graphic elements and then pressing the [command] and [8] keys).
Next open up a vector texture file. You can find a ton of free downloads for these if you search “free vector texture”. You can also make your own! See the end of this post for that How-To. For this tutorial, let’s just snag a texture from here so you can follow along. You’ll want to play around with a few different textures to sort out which works best with your design. Make sure you size the texture to your graphic so that the whole design is covered. Once you’ve arranged the texture on top of the graphic in a way that you think looks best (consider the best grit size and density), make the grit vector graphics into a compound path by pressing the [command] and [8] keys.


You should have a compound path vector design (as the back-most item) and a compound path vector texture (as the top-most item). Select both your graphic and the lovely textures you’ve prepared and click the intersect (minus top object icon) tool in your pathfinder panel. Voila! Now you’ve got some nice distressing going on. This method removes the distressed area completely from the design, which is a good method to use when saving final logo files as a one color vector single shape.

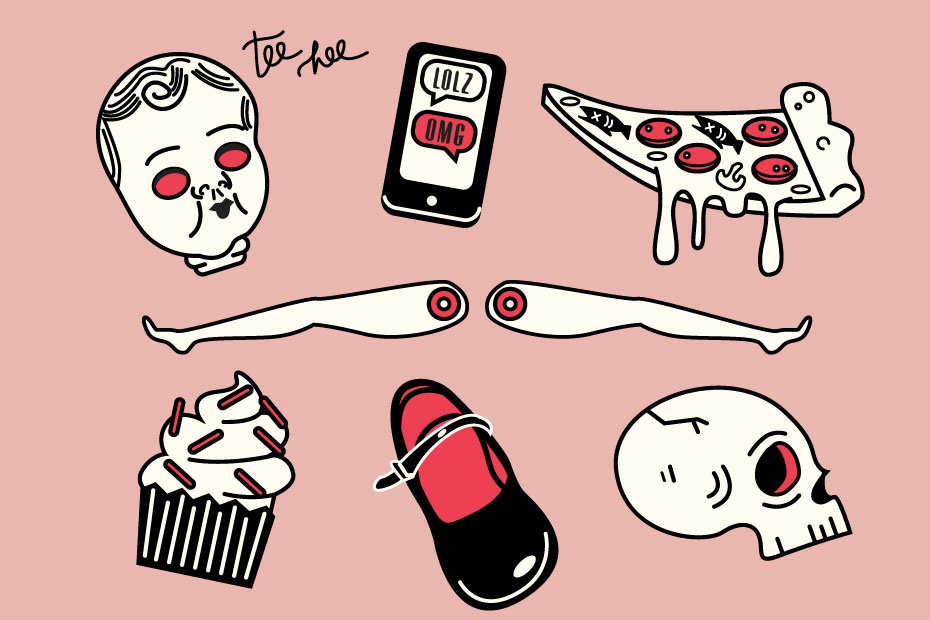
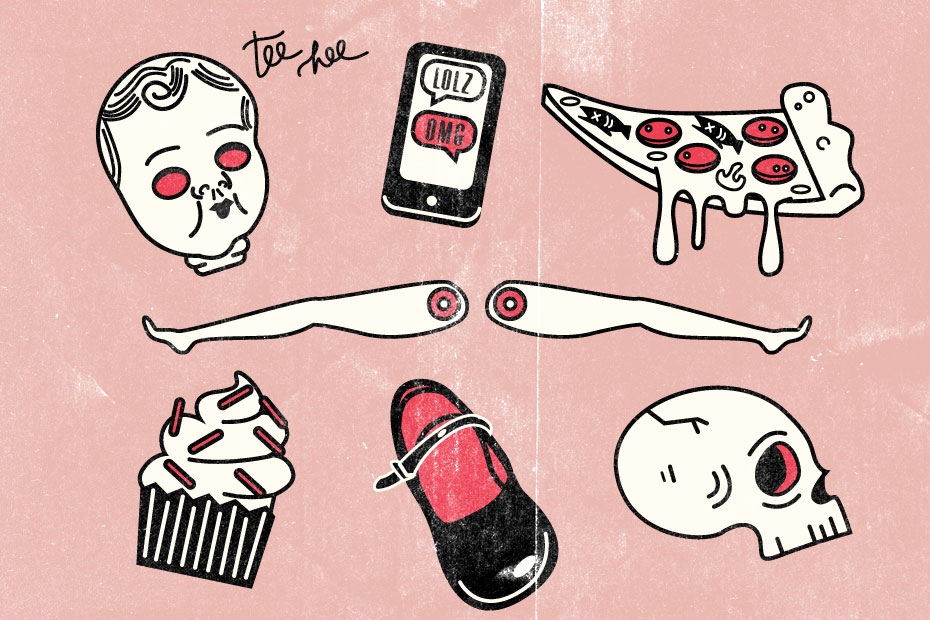
Open up whatever pretty (or creepy, in our case) graphic you’d like to add a grit texture to in Photoshop. Also open up a gritty texture as well (Lost and Taken has a great gallery of free high res textures for your use). Copy and paste or drag the texture image into the same PSD file as your graphic. Make sure they remain separate layers and that the grit texture layer is on top of your design image layer.
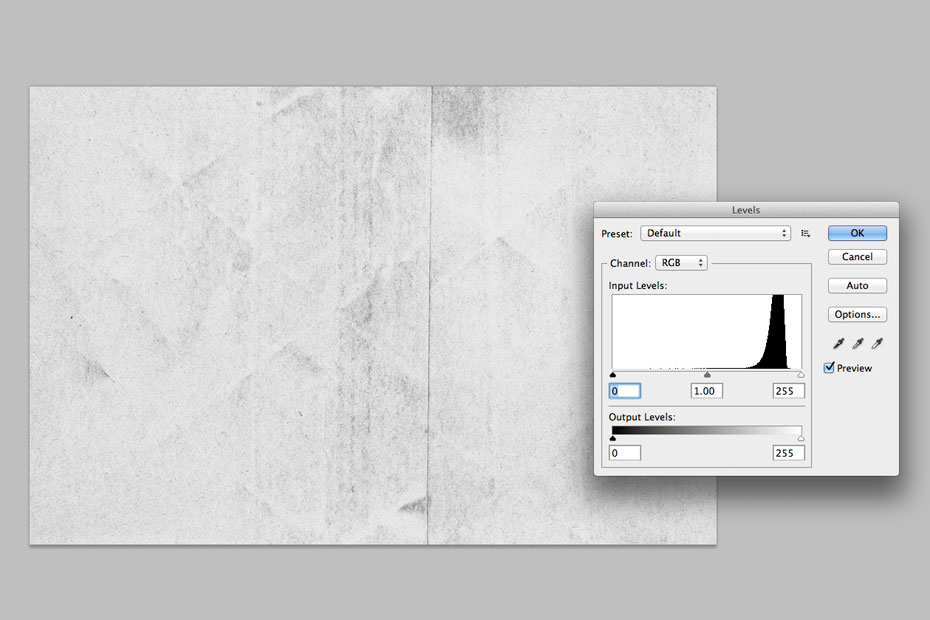
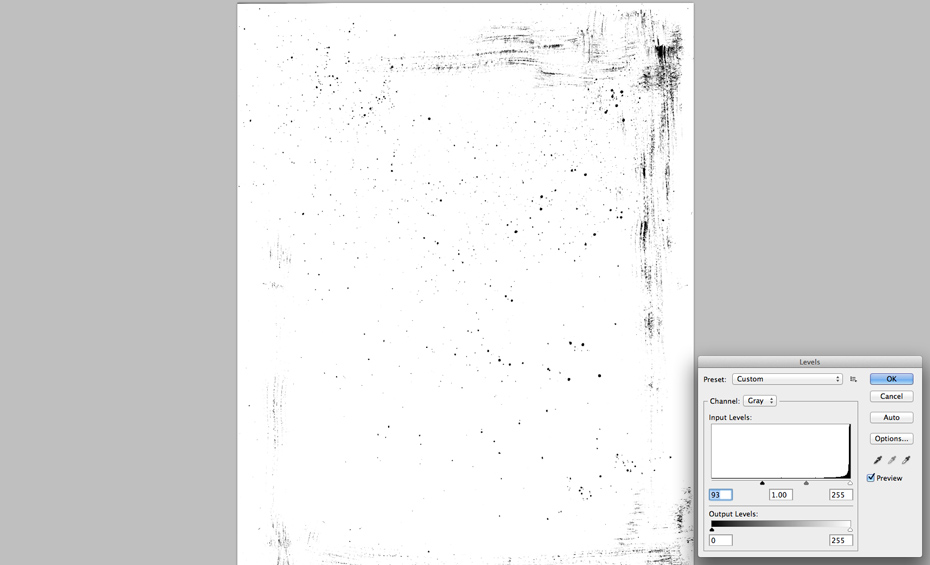
Using levels, adjust the tones of your grit texture layer. You want to adjust the levels for high contrast black and white, so pull the black and white level tabs in to the outer edges of where the graph chart starts to peak. Keep in mind that the areas of black will be subtracted from your graphic (these will be the distressed, grungy areas). With your newly adjusted grit texture layer selected in the Layer panel, select all (Command + A) and copy (Command + C) that bad boy.
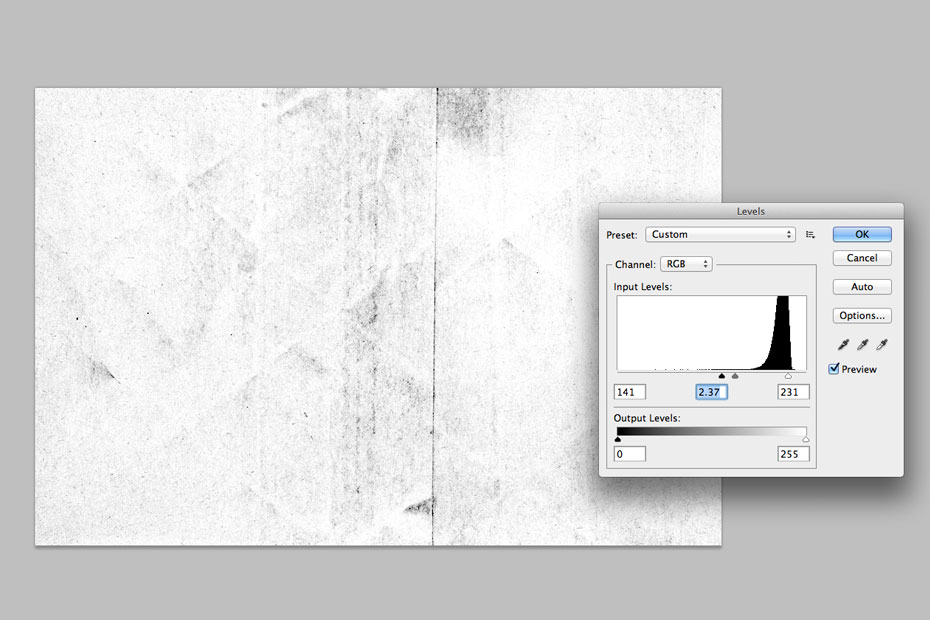
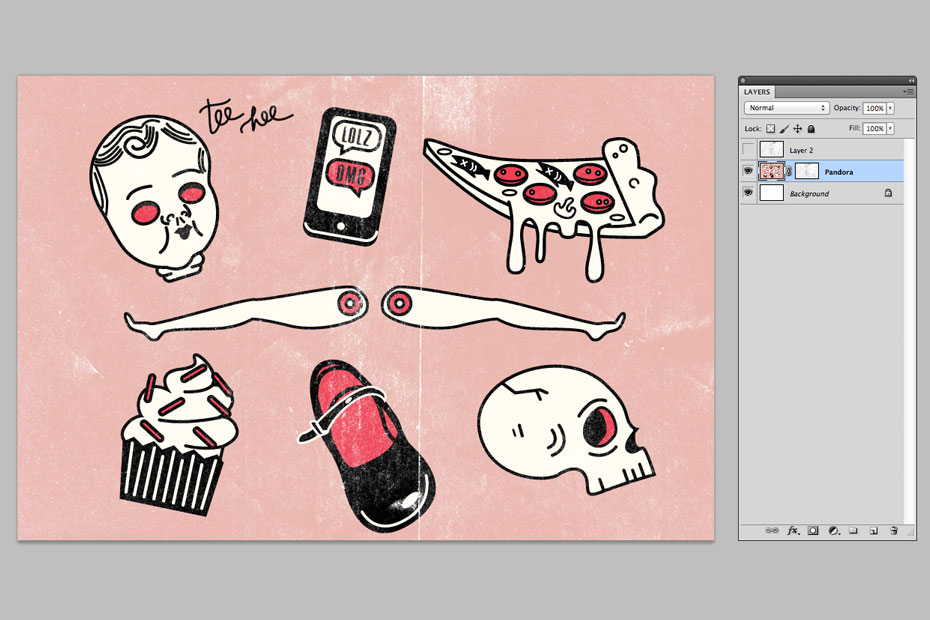
Go back to the image layer with your design on it and add a layer mask to it (at the bottom of your Layer panel there is an icon of a square with a circle in it. This is the button to add a layer mask). A little link and a white box will appear next to your layer thumbnail in your layer panel. Hold the Option key and click into the layer mask thumbnail. This will take you into the blank layer mask. Now paste (Command + V) your copied grunge texture into the layer mask. Turn off the visibility of the original top layer with your grit texture on it, and you should be able to see your design in all it’s gritty, textury glory.
First, supplies: You’ll need some blank white paper, a napkin, a hard bristle brush, a liner brush, india ink, and black acrylic paint. To start, dip your liner brush in india ink, then holding the brush over the white page, tap the handle to create spatters. It usually looks best if it’s varied, so put more spatters in different areas to keep it looking organic. Loading the brush with more and less ink will also give you a bit of variation in spatter.
To make the texture really gritty and unique, we’ll paint in some dry brush lines. We did this by using a hard bristle fan brush and black acrylic paint. Get a small amount of paint on the brush. Brush the fan brush on a napkin to get rid of excess paint. This will create our dry brush effect. Brush the fan brush along the sides of your page, or wherever you want the dry brush lines.

Let the page dry. Scan it in and take it into photoshop to up the levels so that the blacks are really black and bold and the whites are pure white.
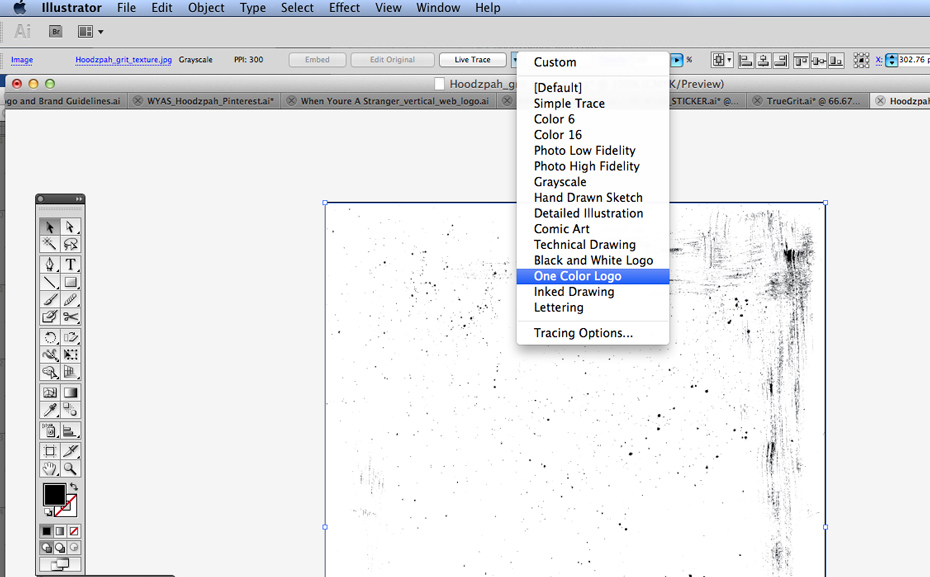
Take it into adobe illustrator and live trace it. You may have to try a few different live trace options, but to make the grit a bit bolder we usually use “one color logo” settings.
And voila! You have a vector grit that you can either place on top of, or pathfinder out of vector art to give a nice grit effect. And because we love you guys, you can download the grit texture we made for free! Just add the below item to your cart, fill out the quick info, and then wait for your download email. Shine on, friends, and let us know how your own adventures in gritty textures work out.