Looking for something?
This blog was updated and rewritten on December 3, 2020.
Originally published on July 15, 2014 by Julie Mack Boyce.
After all the inspiration hunting, sketching, rounds of revisions, client battles/victories and last little tweaks, you’re ready to export logos for your client and brag about it in your portfolio already. Here’s how we do it at Hoodzpah (we’re a branding studio so this is a regular dance for us). This method aims to save you time and sanity, while anticipating your client’s needs and questions. For our example, we’ll be exporting logos for our client Skip.
For Print (CMYK and Pantone): EPS
For Digital (RGB): JPG, PNG, SVG
For each of those file formats and color modes, we’ll save logo versions for: Color, Reverse Color, and 1-Color Black.
In your main project folder, create a new folder where you’ll save only the final logos that you’ll deliver to the client. This makes it easy to compress, WeTransfer, or Dropbox link just one folder to send to your client once you’re done exporting logos from Illustrator.
Name it “[Client-Name] Logos”. In our example, we’ll name it “Skip Logos”
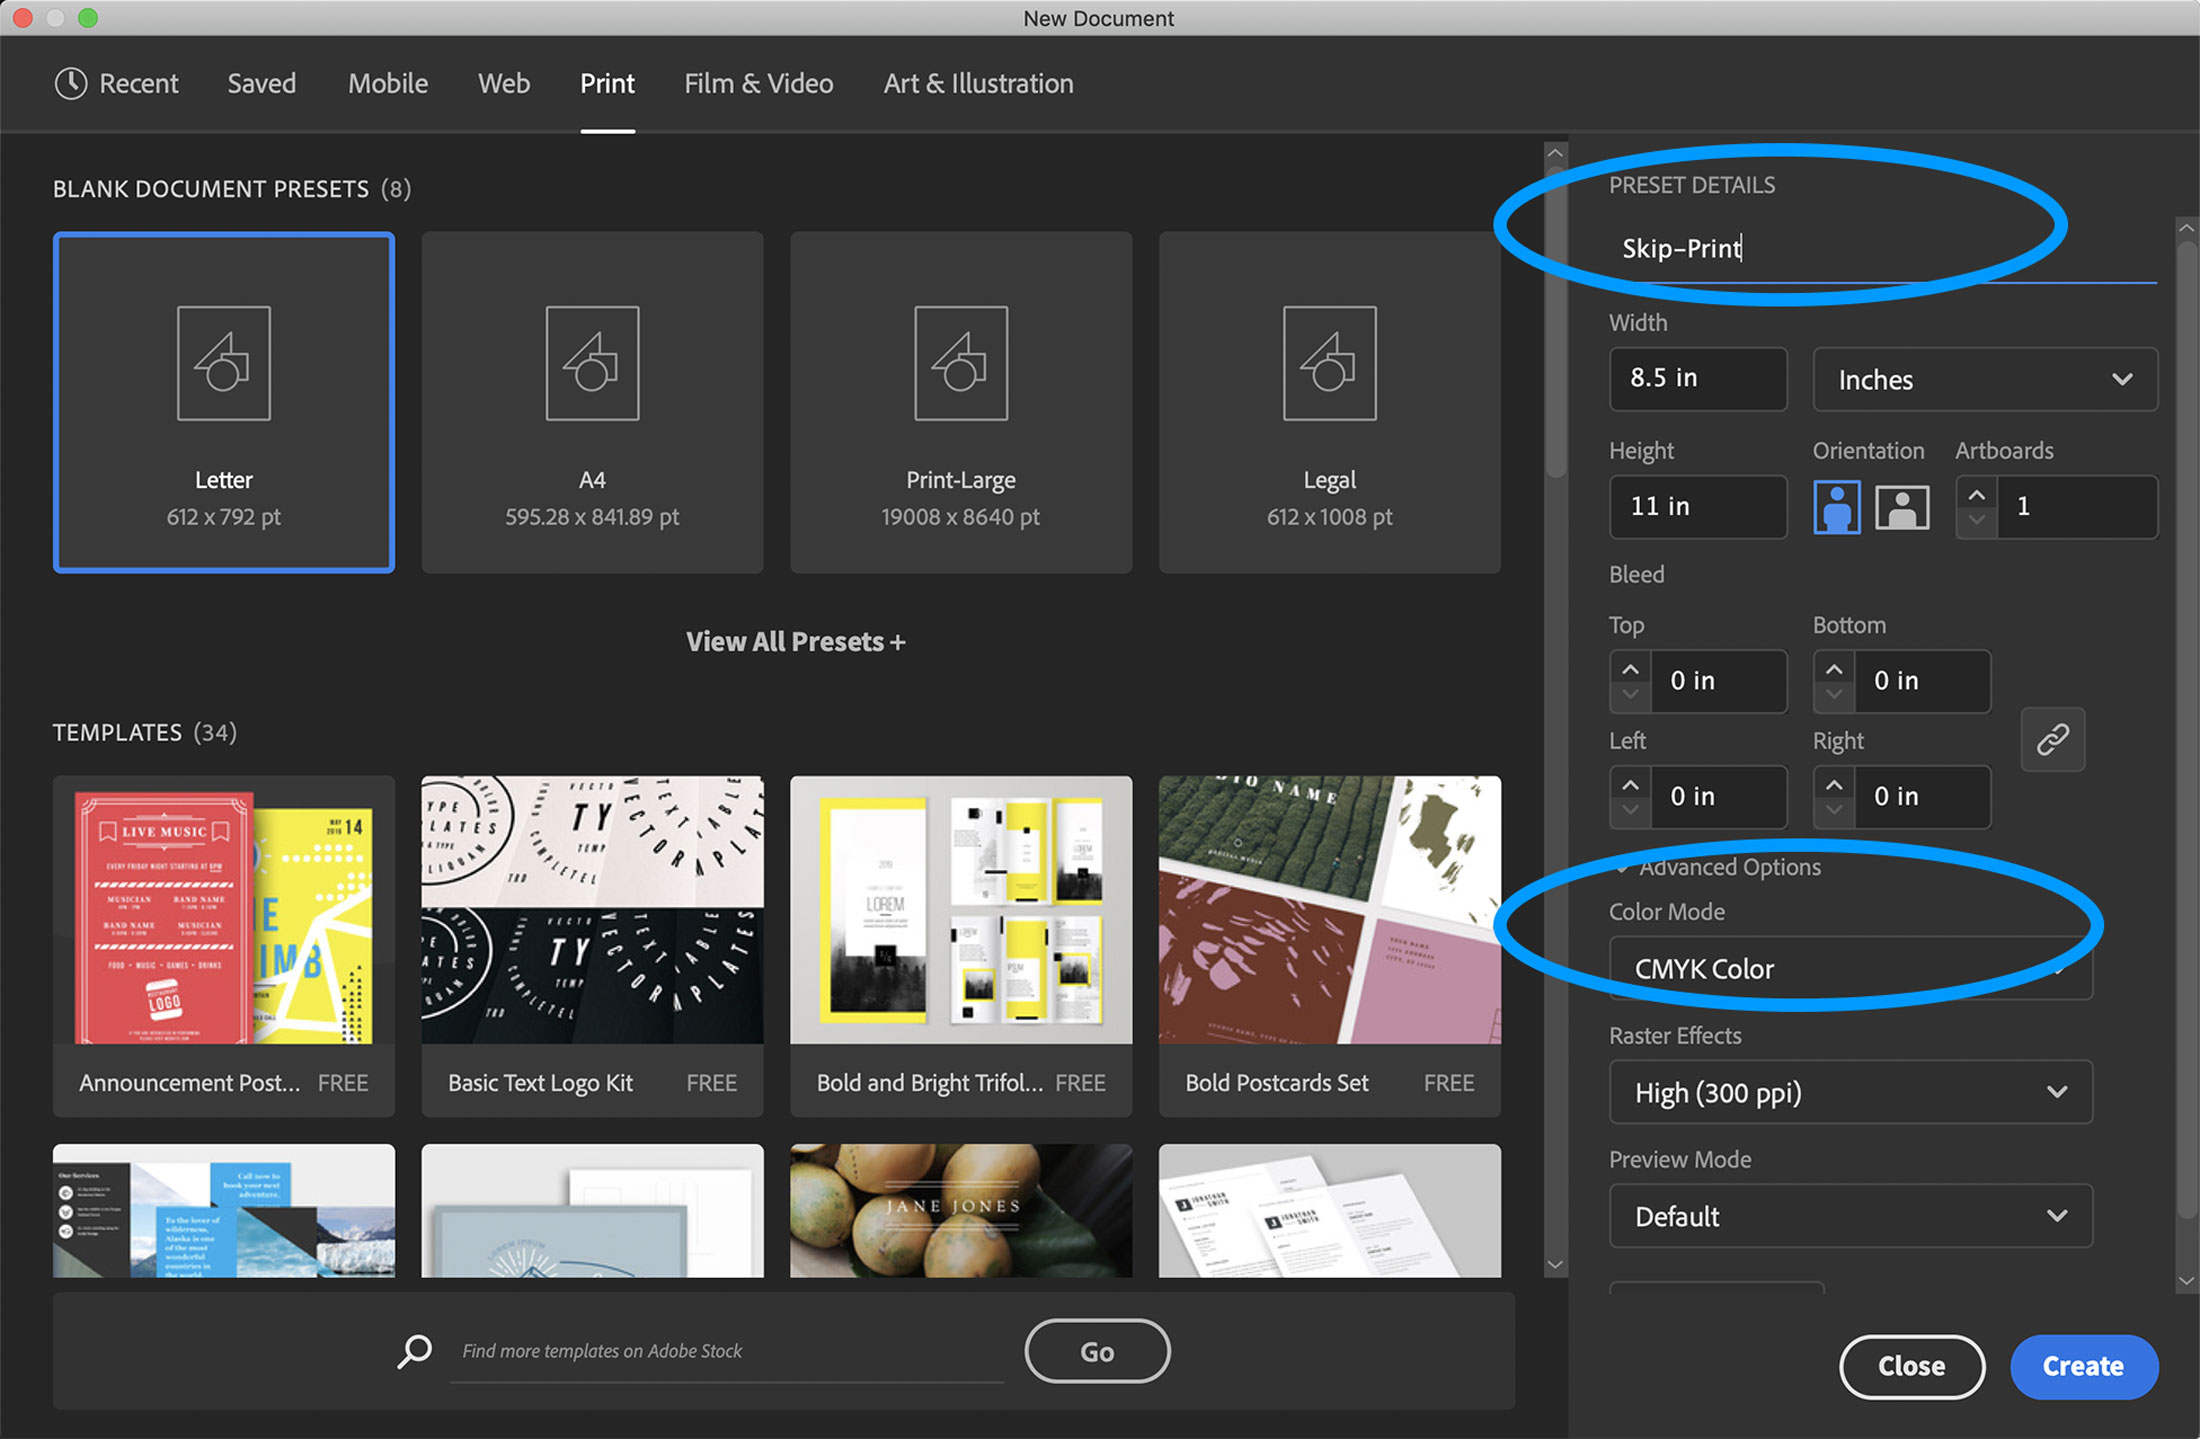
In Illustrator create a new document (File > New, or Command+N). In the “New Document” dialogue box:
1. Select “Print” from the top tab of document presets. This will give us a CMYK color mode, and 300dpi resolution. We’ll place our CMYK logos in this file, and also Pantone logos, if we’re exporting those.
2. Name the file “[Client-Name]-[Print]” (in our example “Skip-Print.ai”). Don’t add any extra words. You’ll see why when we get to exporting.
3. For now, you can leave the artboard size as the default, and select 1 artboard.
4. To control the exact color values for your RGB logos, rather than exporting to default RGB from your CMYK file, create another master Illustrator document that uses a RGB document preset, and place your RGB logos there. Name this file “[Client-Name]-[Digital].ai” (in our example “Skip-Digital.ai”).
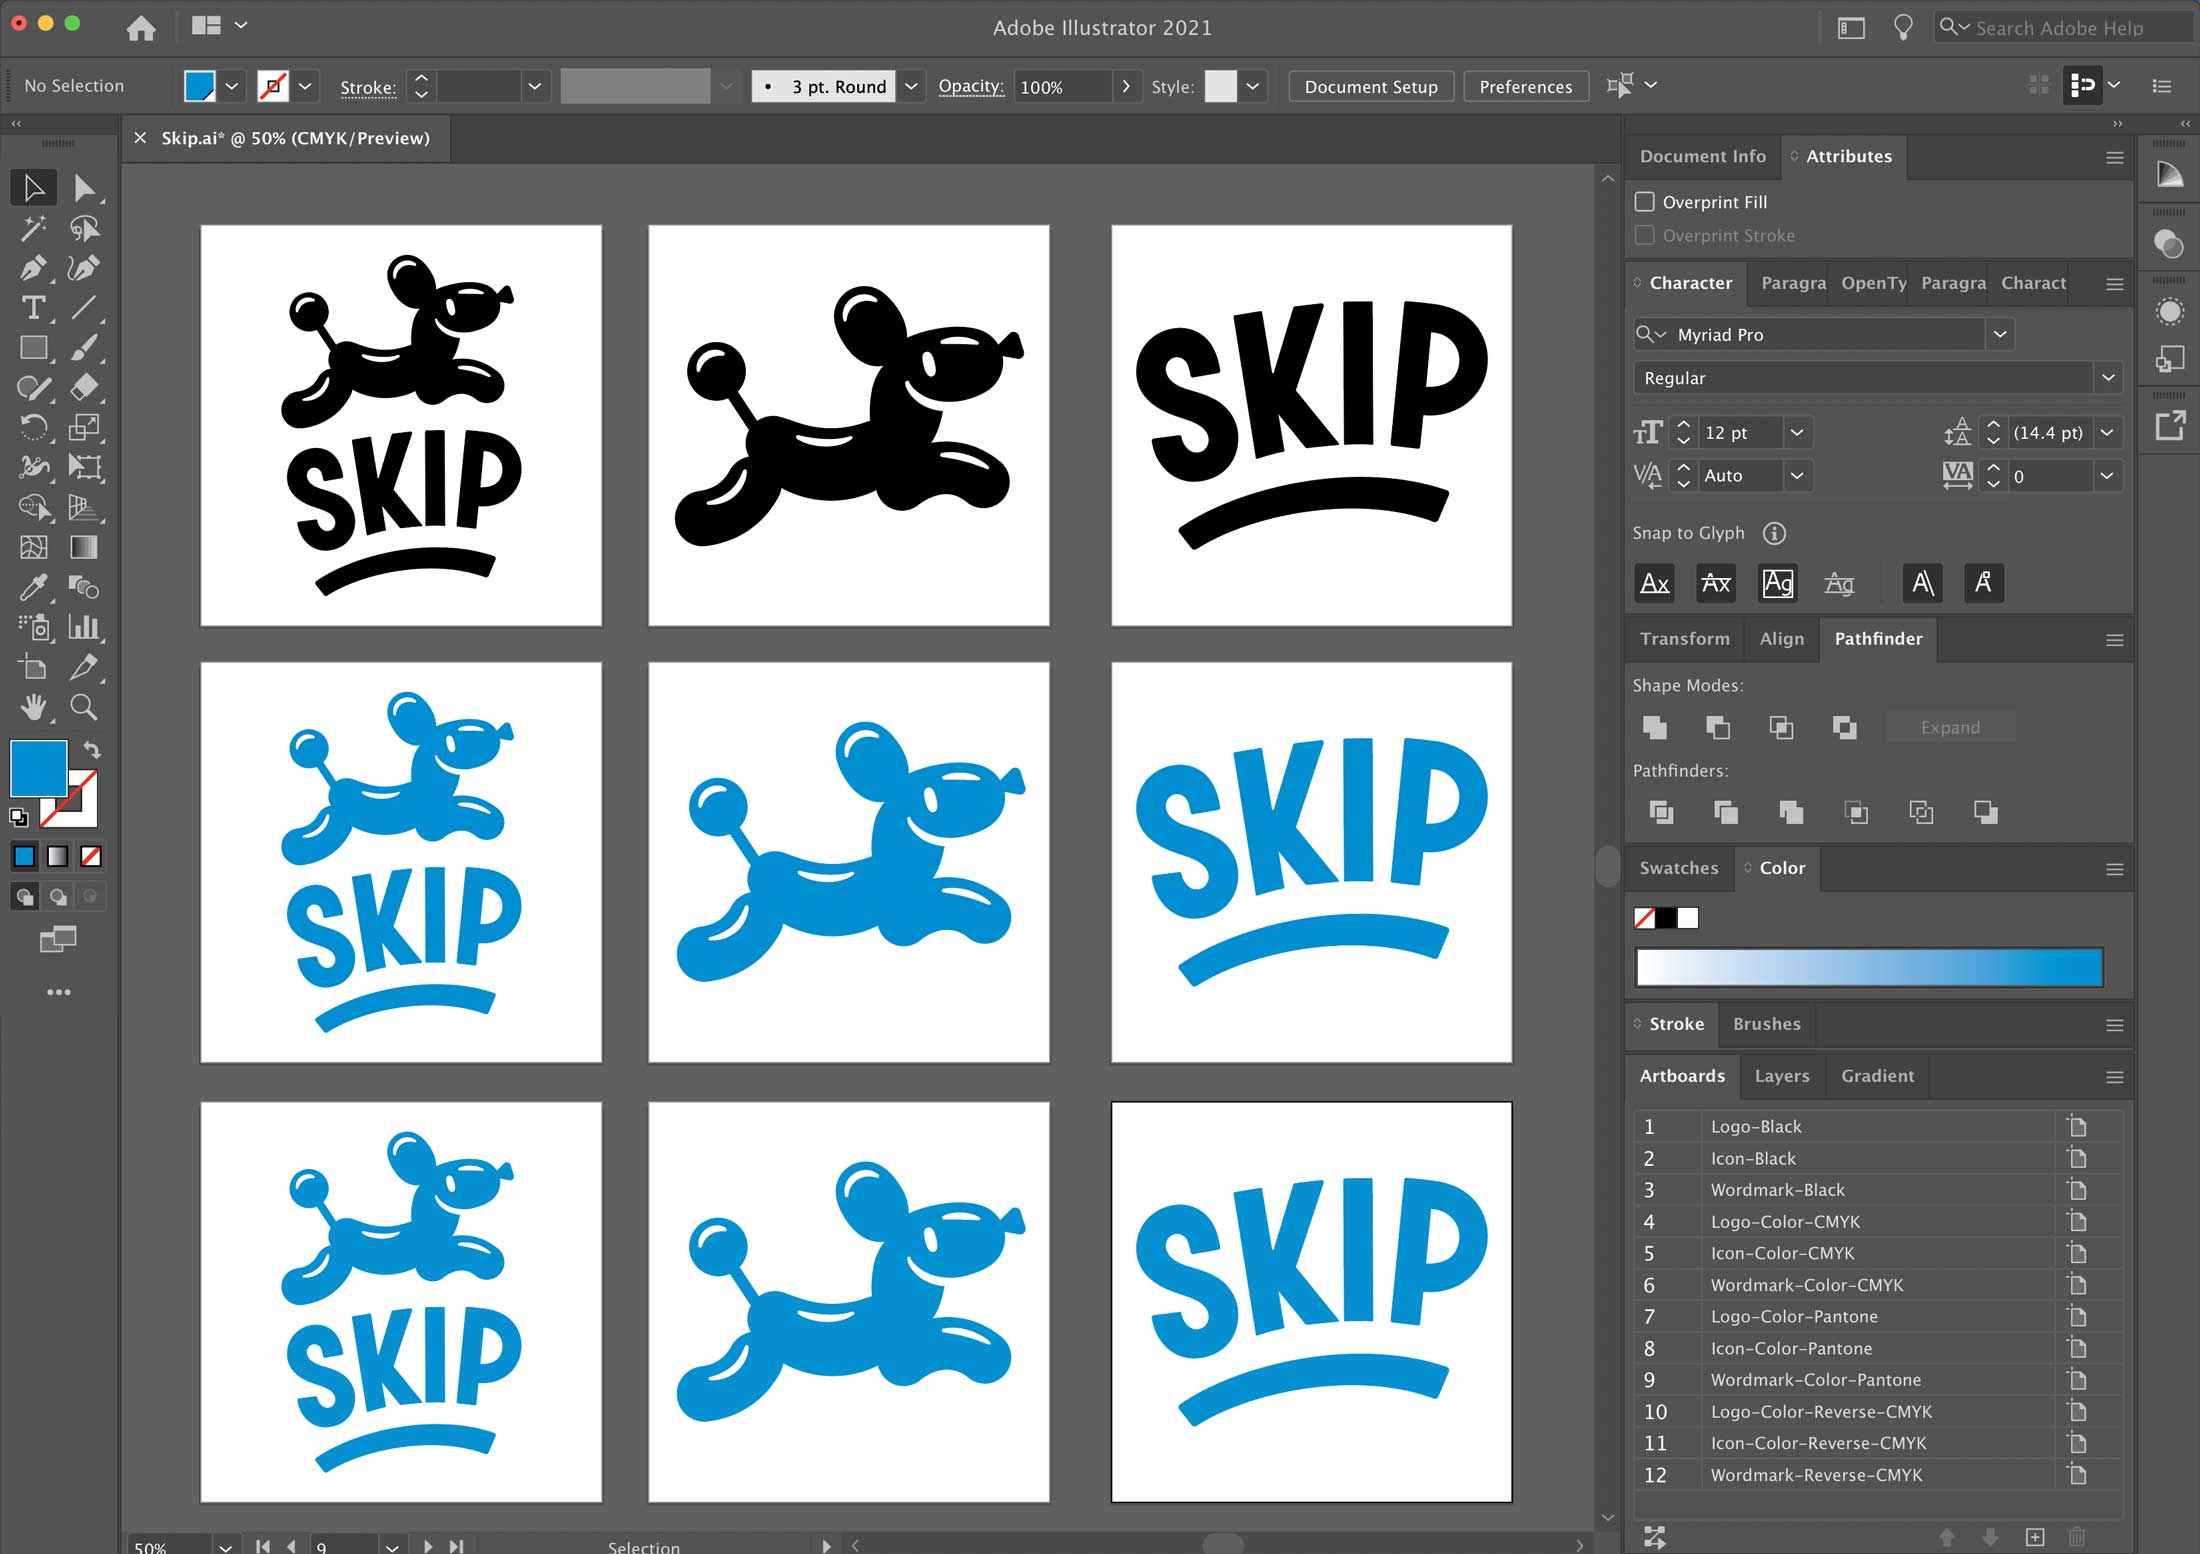
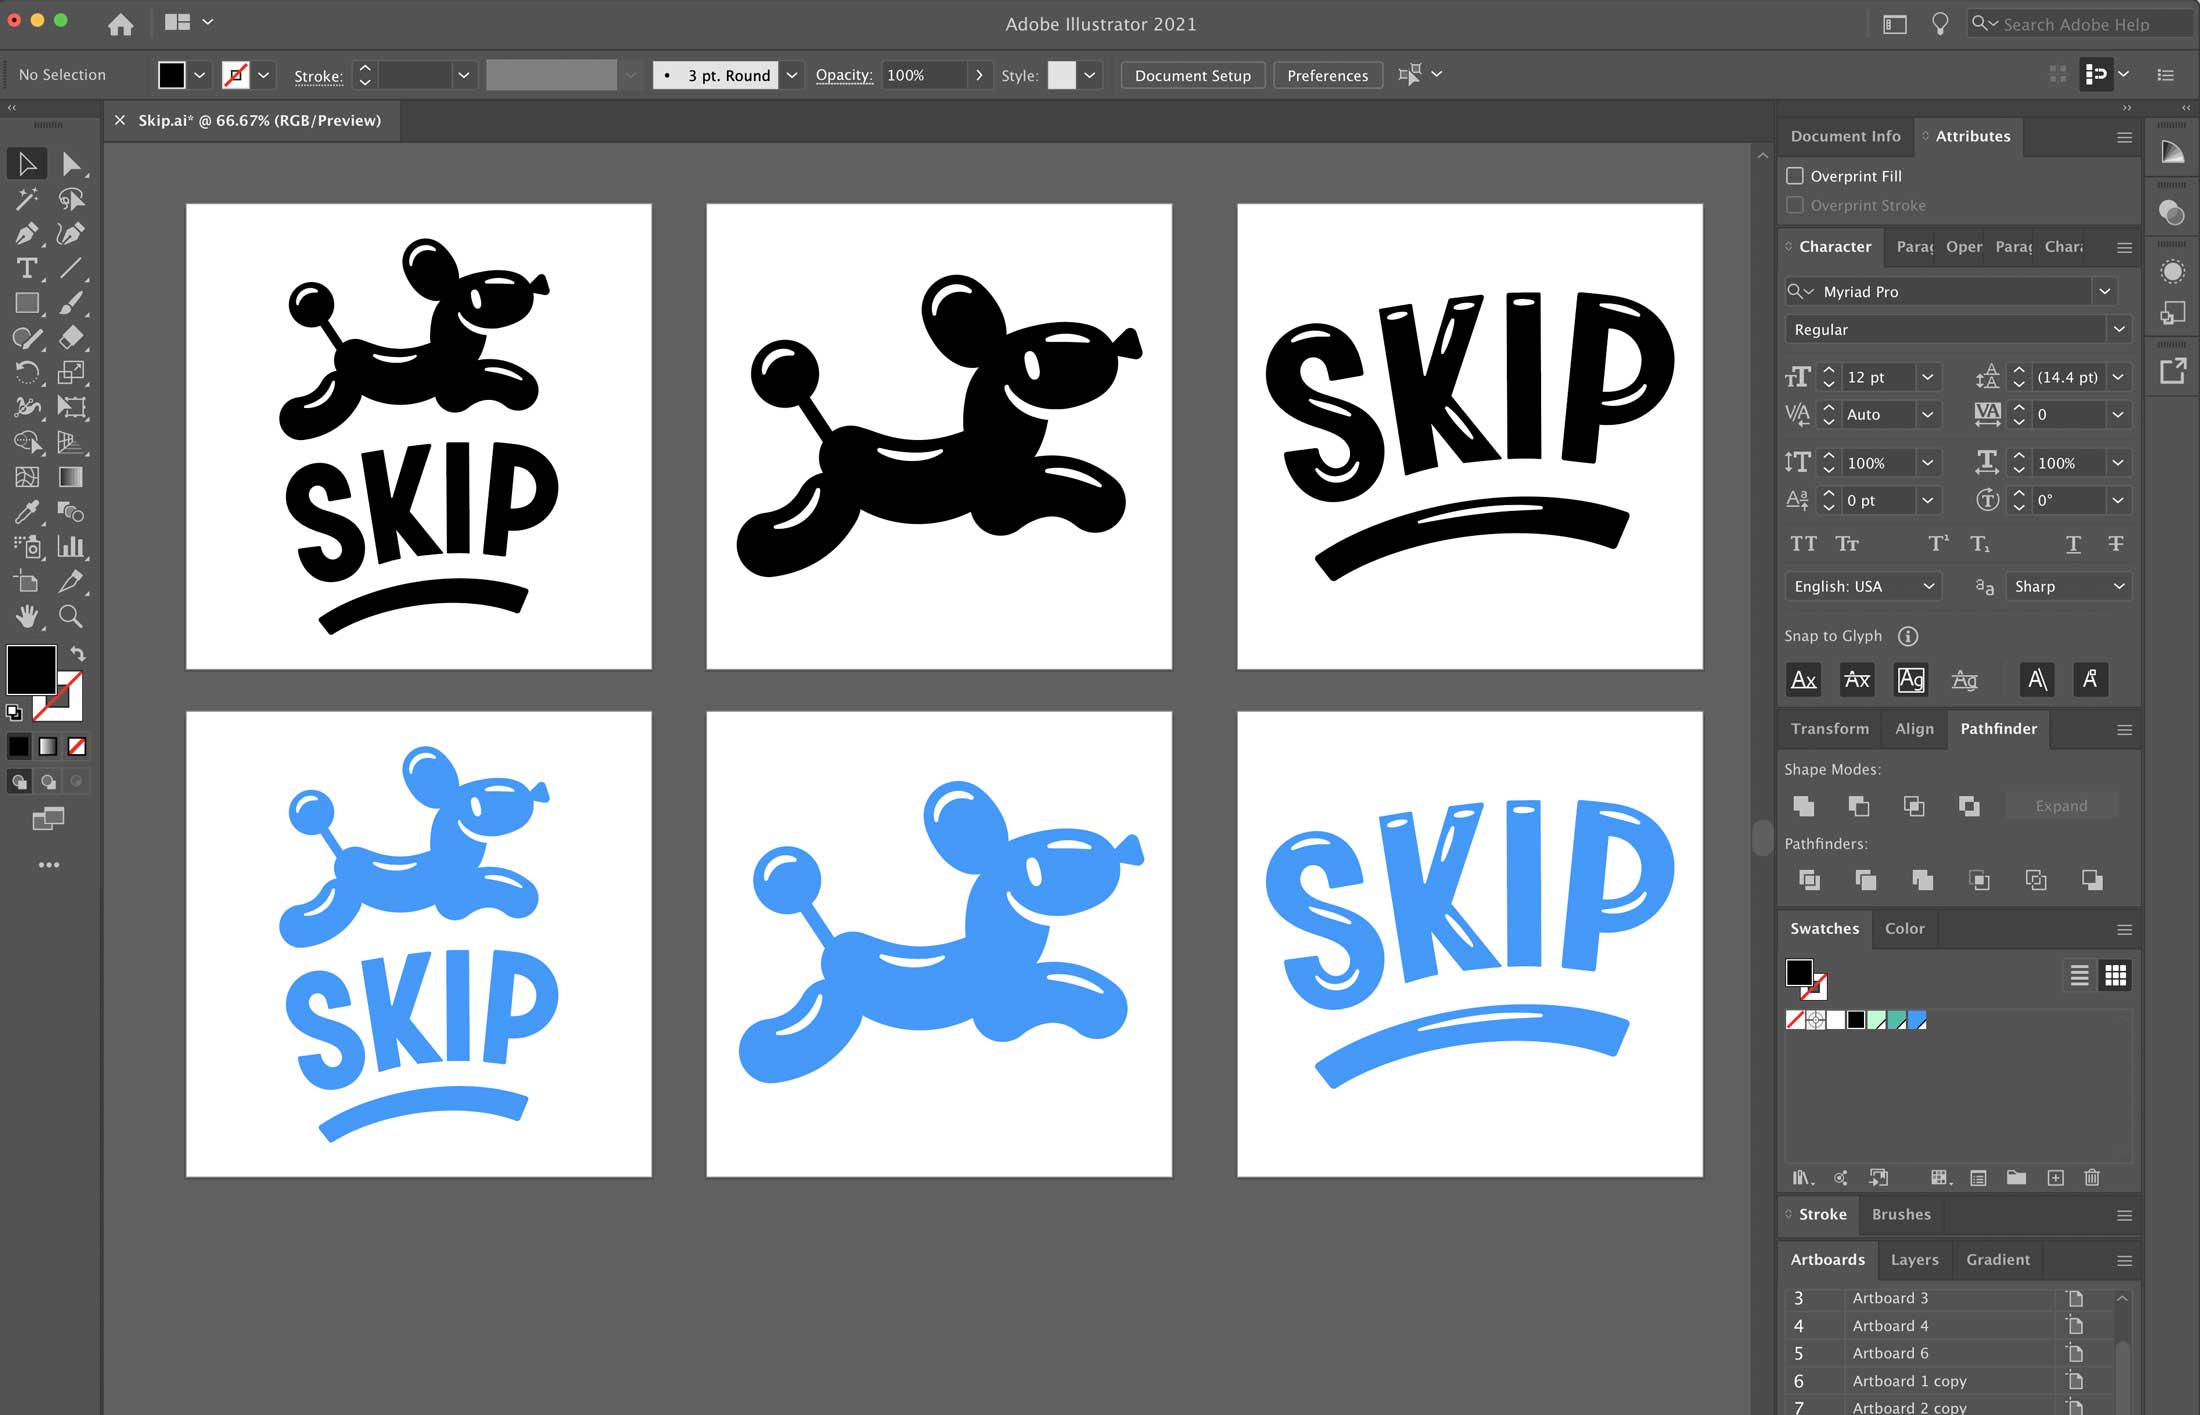
Paste all final logos that need to be exported into the new file (it doesn’t matter if they’re on the default artboard or not, initially). Group the elements of each logo variation. Then create artboards around each logo variation (wordmark, icon, logo in color, black, and reverse). You can do this by:
1. Selecting your Artboard Tool, and clicking once on each logo variation (just be sure the logo pieces are all grouped for each variation, otherwise the artboard might only snap to part of the logo). Illustrator will automatically make the artboard to the exact dimensions of the grouped logo.
2. Or by selecting Artboard Tool and click and dragging artboards. If you go this route, be sure to center the logo on the artboard using your align tools. If the logo is off-center, future designers won’t be able to properly align the logo in their designs using their align tools.
3. Delete the default document artboard now that your logo artboards are made.
For the digital RGB document, we usually aim for it to be around 250px and 600 px wide (depending on the shape of the logo).
For the print CMYK document, we’ll set the artboards at around 3 – 4” wide, depending on the shape. But this can be left up to you. Just think of where you’re client will need to use these logos. For digital, we create the artboards on the smaller side (as it might appear in a website header or email footer), because we can create 2x and 3x images easily to give them larger options.
Don’t include your client name, that’s already specified in your Document Name, and will be included on export automatically, when we select “use artboards” in the “Save as” dialog box; or we can set the client name as a prefix in the “Export to screens” dialog. Name the artboard in a way that helps your client understand what it is.
Select all live type and hit Cmd + Shift + O to outline all your fonts. Or select all live type and go to Type menu > create outlines. This makes editable text into a vector shape. So if you want to keep a working version of the type, save another file labeled “Working” or “Editable” in the project folder (but not in this final logos folder).
Why this step? So that you ensure the logo type never changes, even if someone else opens the file who doesn’t have the font.
Select any stroke or path, and go to Object > Path > Outline Strokes.
Why this step? To preserve the exact appearance of your design in future. If another designer using your files doesn’t have your brush, or scales a logo with a stroke without having “Scale proportionately” turned on, they could alter the logo and create brand inconsistencies.
Double check that the colors you’re using are what you approved with the client, and are consistent throughout all logos (you don’t want to accidentally be using two different blues when they should be the same). If you’re saving CMYK and Pantone versions of the logo, create a custom color swatch for the Pantone color. In the “New swatch” modal window, select “Spot color” instead of “Process”, Name the swatch after the Pantone Name, and enter the CMYK values of the Pantone color.
Note: if you’re doing logo and brand work, definitely buy physical Pantone books, so you can select CMYK and Pantone colors based on how they will actually print.
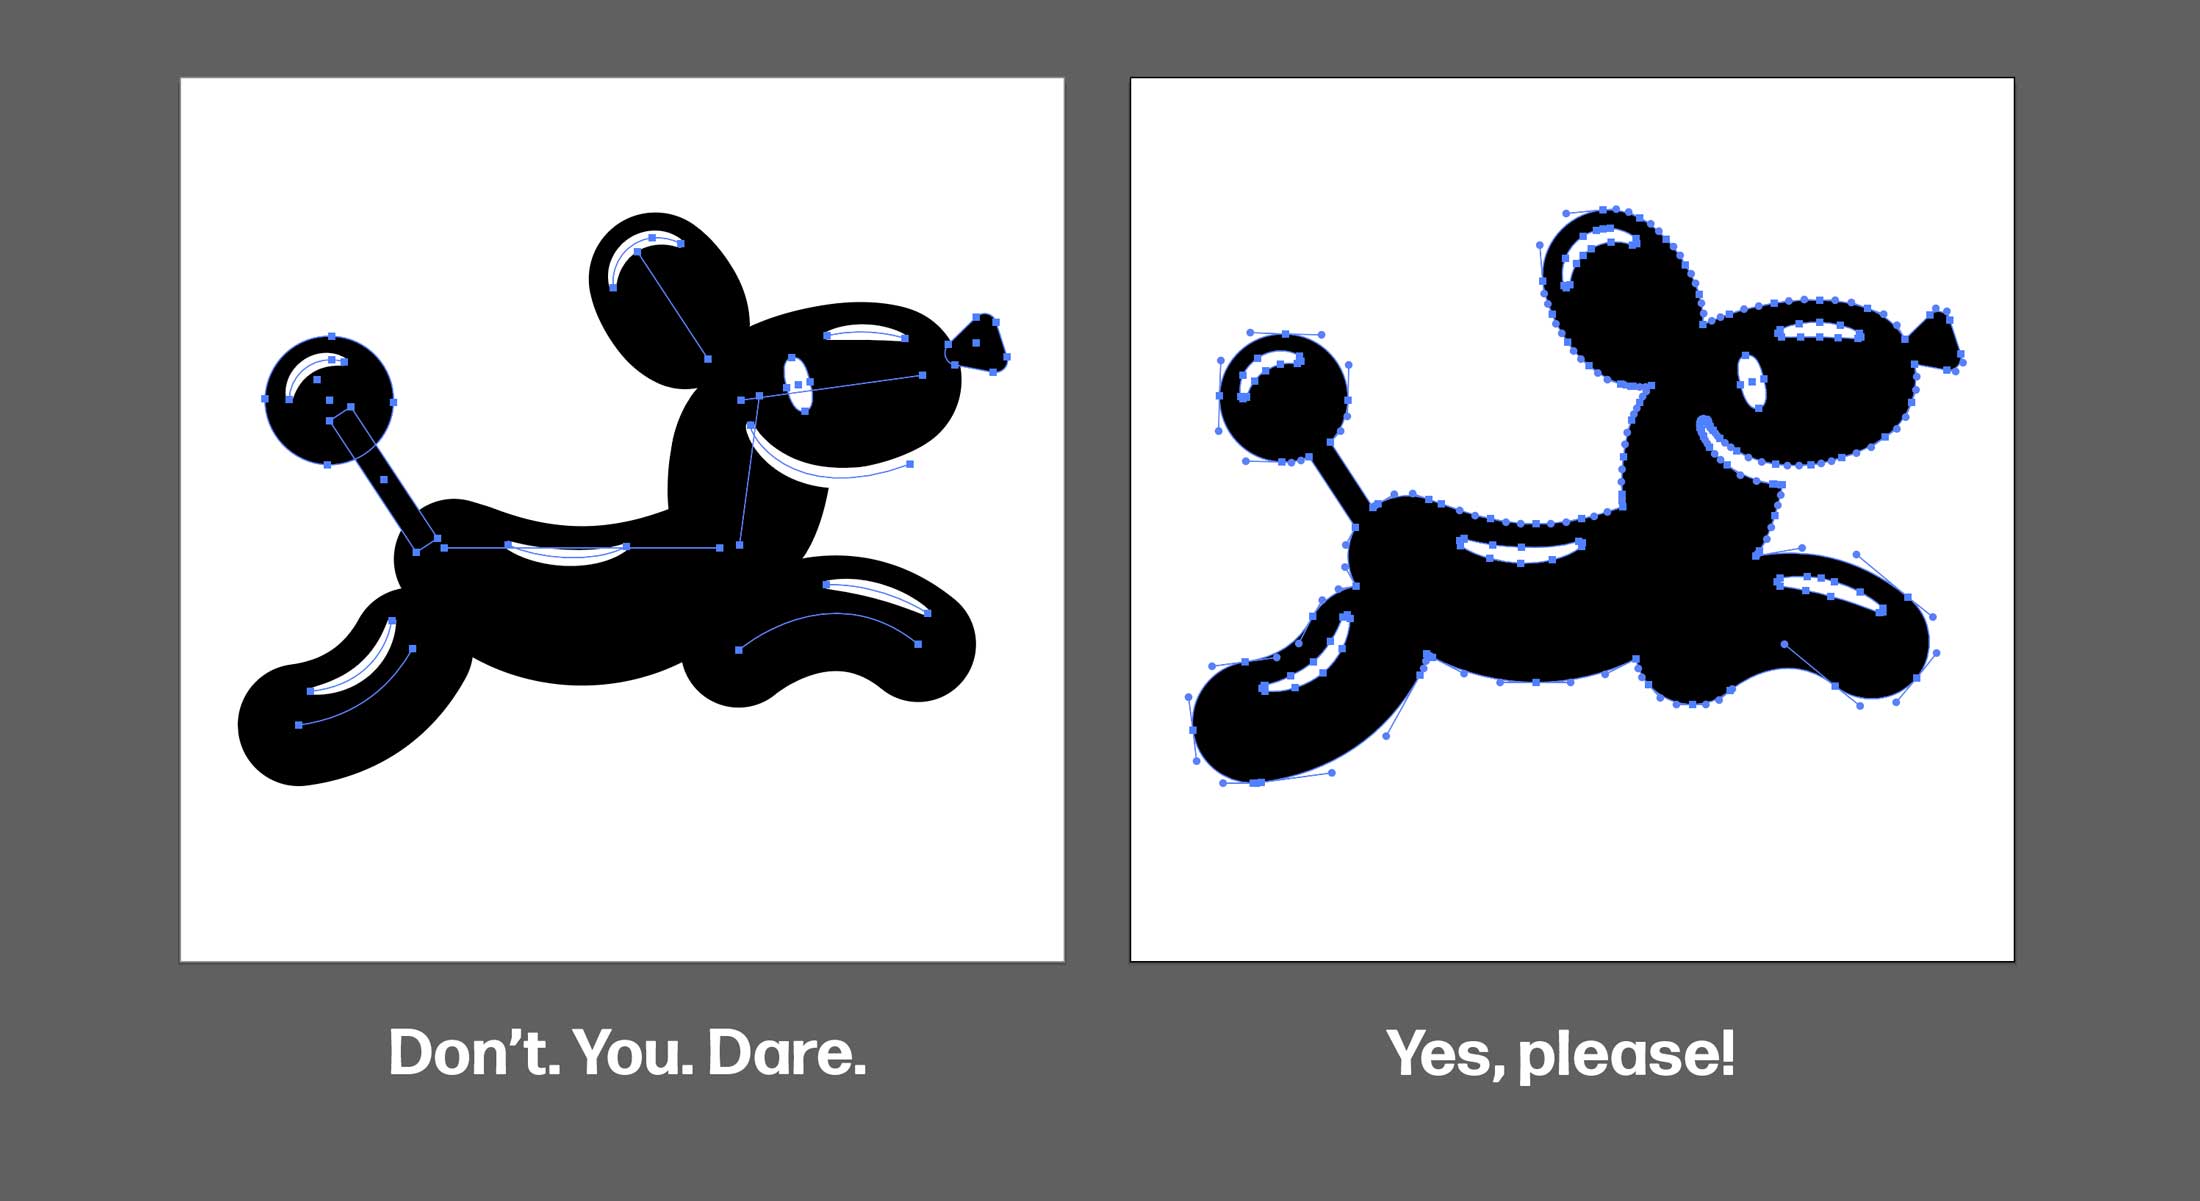
If you made an icon out of a ton of different vector shapes, select all the shapes of the same color, and use the Pathfinder tools to unite them together. If you had been showing negative space in a logo by using a white shape, then use the “Minus” Pathfinder tool to actually knock that shape out. Sometimes when you unite or subtract shapes using the Pathfinder tool, the color fill or stroke is lost in the process. If that happens, just reselect the compound path and reapply your desired color.
Why this step? So that it’s almost impossible for anyone to change the logo down the road when they use it in their own designs. And so you don’t have overlay issues when printing vinyl decals, embossing, embroidering the logo, etc.
Once you’re sure everything is good to go, start exporting your file formats. If you had a shape behind your reverse logo options to be able to see them, hide or delete this shape before exporting. We’re going to save the following file formats:
.png (transparent background)
.jpg
.svg (vector)
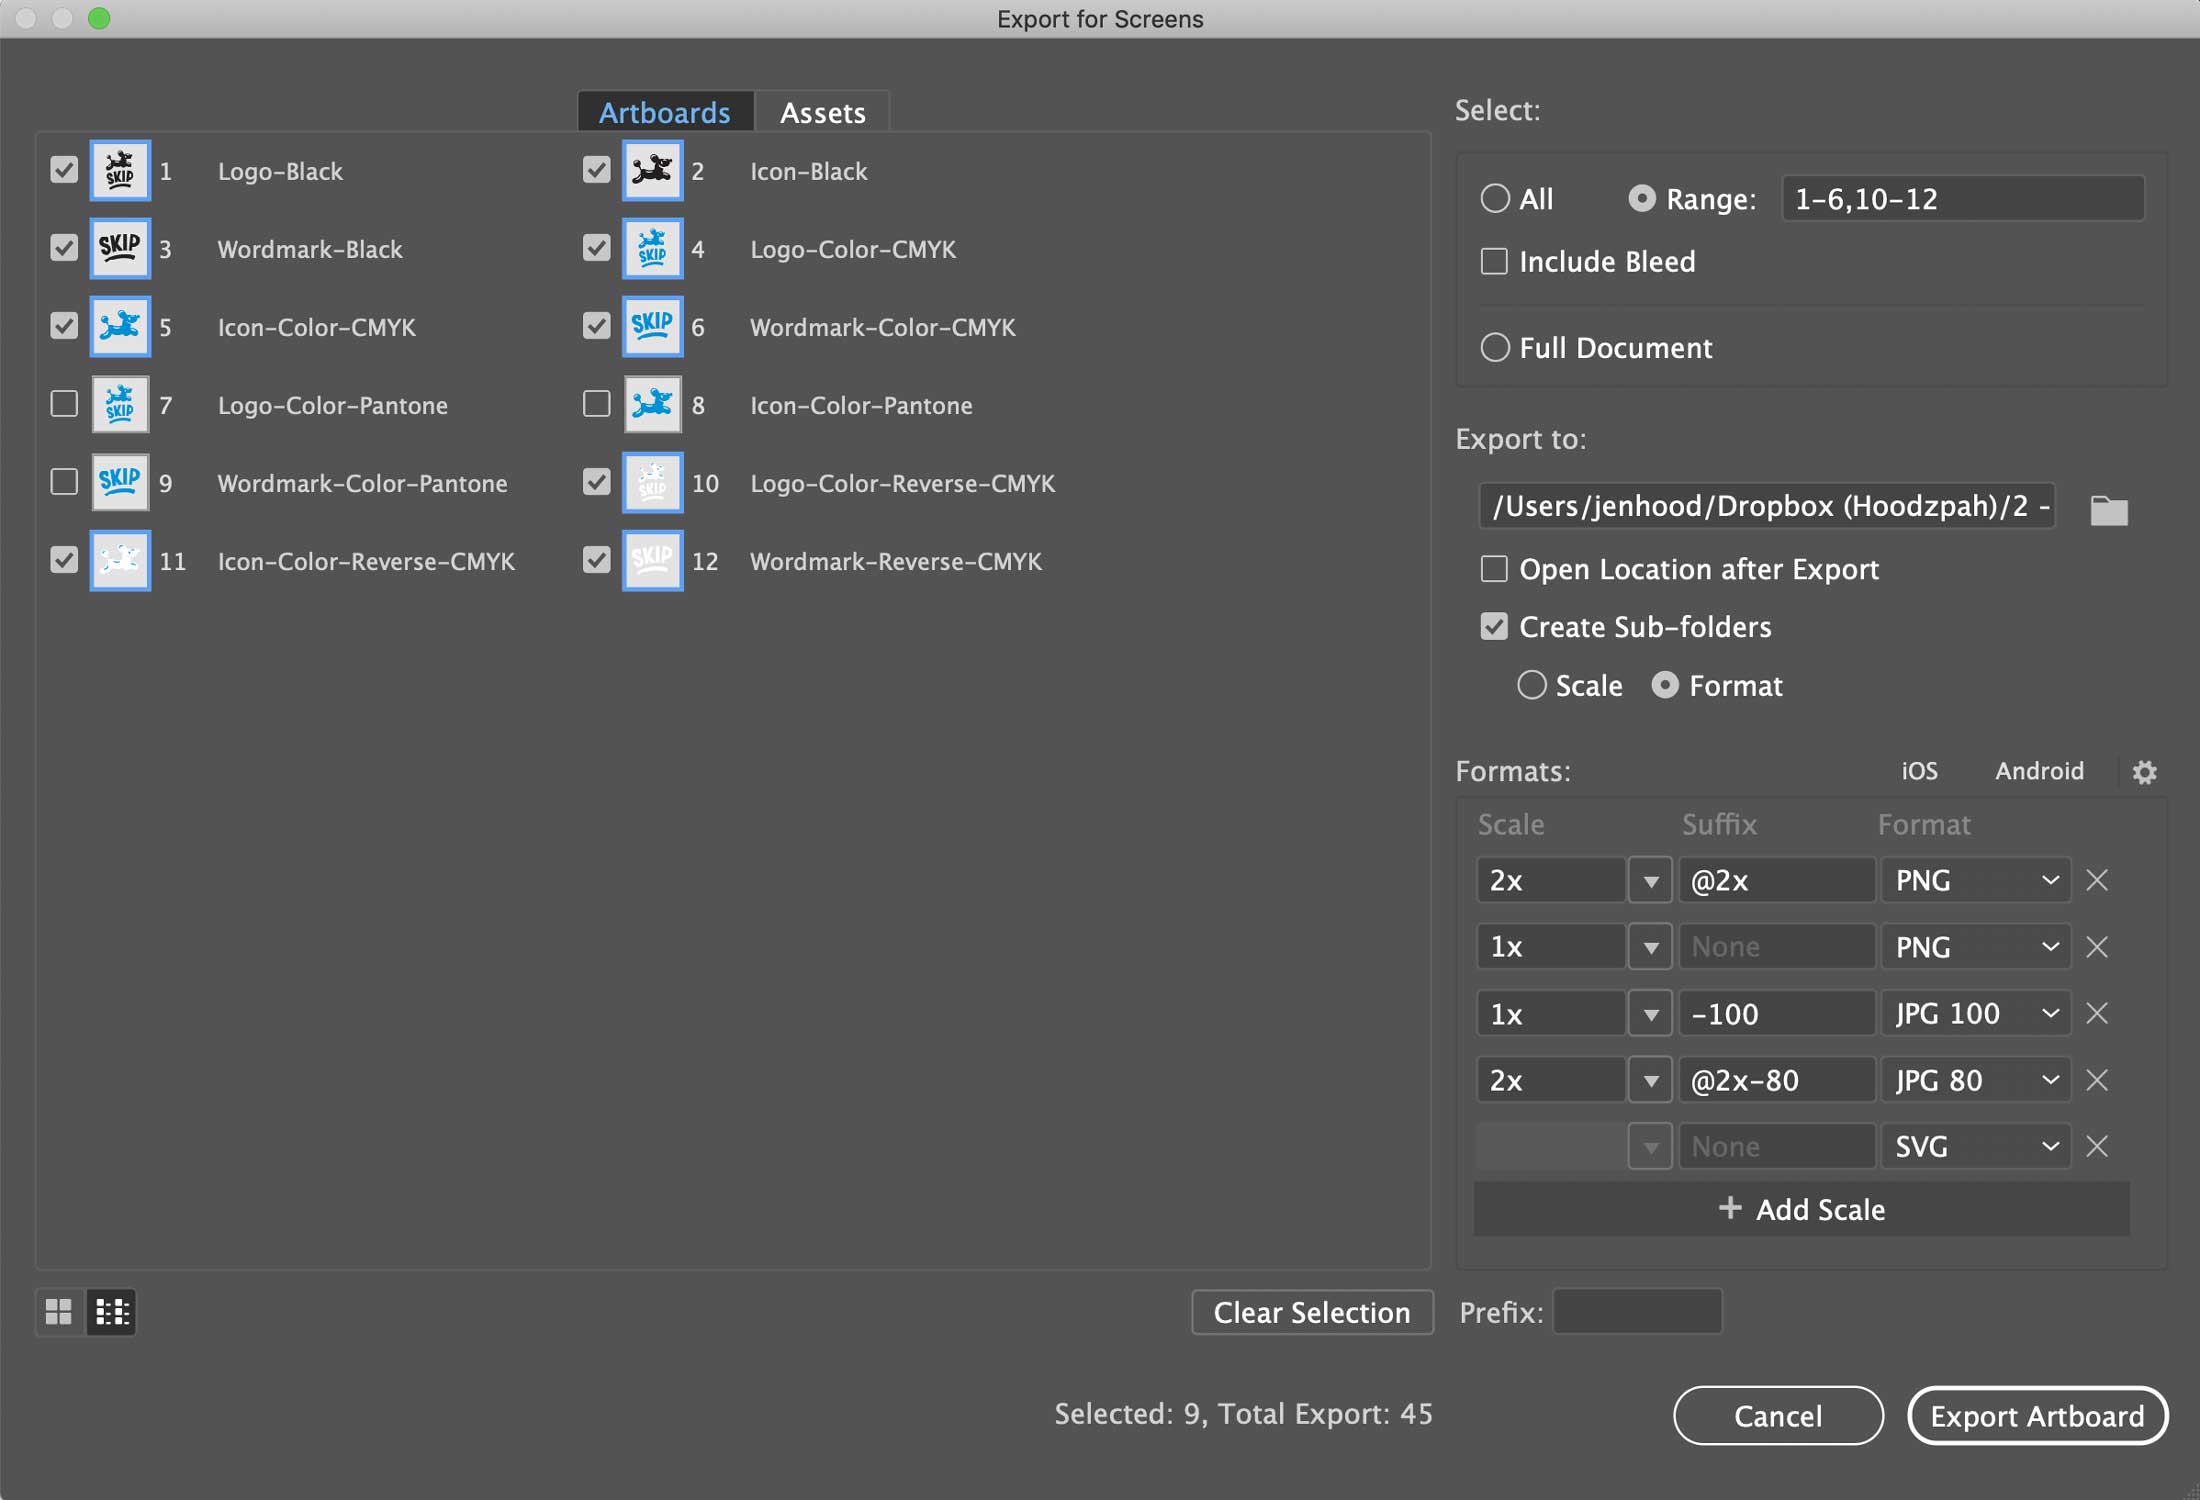
You can export all of these at once by selecting File > Export > Export for Screens.
In the “Export for Screens” dialog box:
1. In lower left corner, select the icon with the little boxes and lines, to see the full artboard titles. Select all your artboards except the Pantone color logos.
2. Under “Export to” on the right side of the dialog box, click the folder icon and select your “[Client-Name] Logos” folder you made. Then create a new sub folder named “Digital” and click “Choose”.
3. Under “Export to”, check/select “Create sub-folders” and “Format”, so that when the files export, they’re grouped into folders by JPG, PNG, SVG.
4. Under “Formats” add formats for JPG, PNG and SVG. Click “Add scale” button to keep adding more formats at various scales. JPG-100, JPG-80, etc. refer to various quality options for the JPG. To save logos at exact size, select 1x as the scale. To also include larger versions of the logo images, you can select “Add scale” and select 2x (2 times the original size), or specify a dimension under the “Scale” dropdown. It’s nice to include exact-size and larger image options for your client (especially if they don’t have a designer on staff who can do this for them later). SVG doesn’t offer scaling options since it’s a vector format which is infinitely scalable.
5. Click “Export Artboard”.
6. Go to the folder where the files exported, and organize the files further by making subfolders for Color, Black, and Reverse; as well as subfolders for the different scales/sizes. Under JPGs, you can delete the Reverse options altogether, as JPGs are flat on white backgrounds, and it wont show up.
.eps (vector)
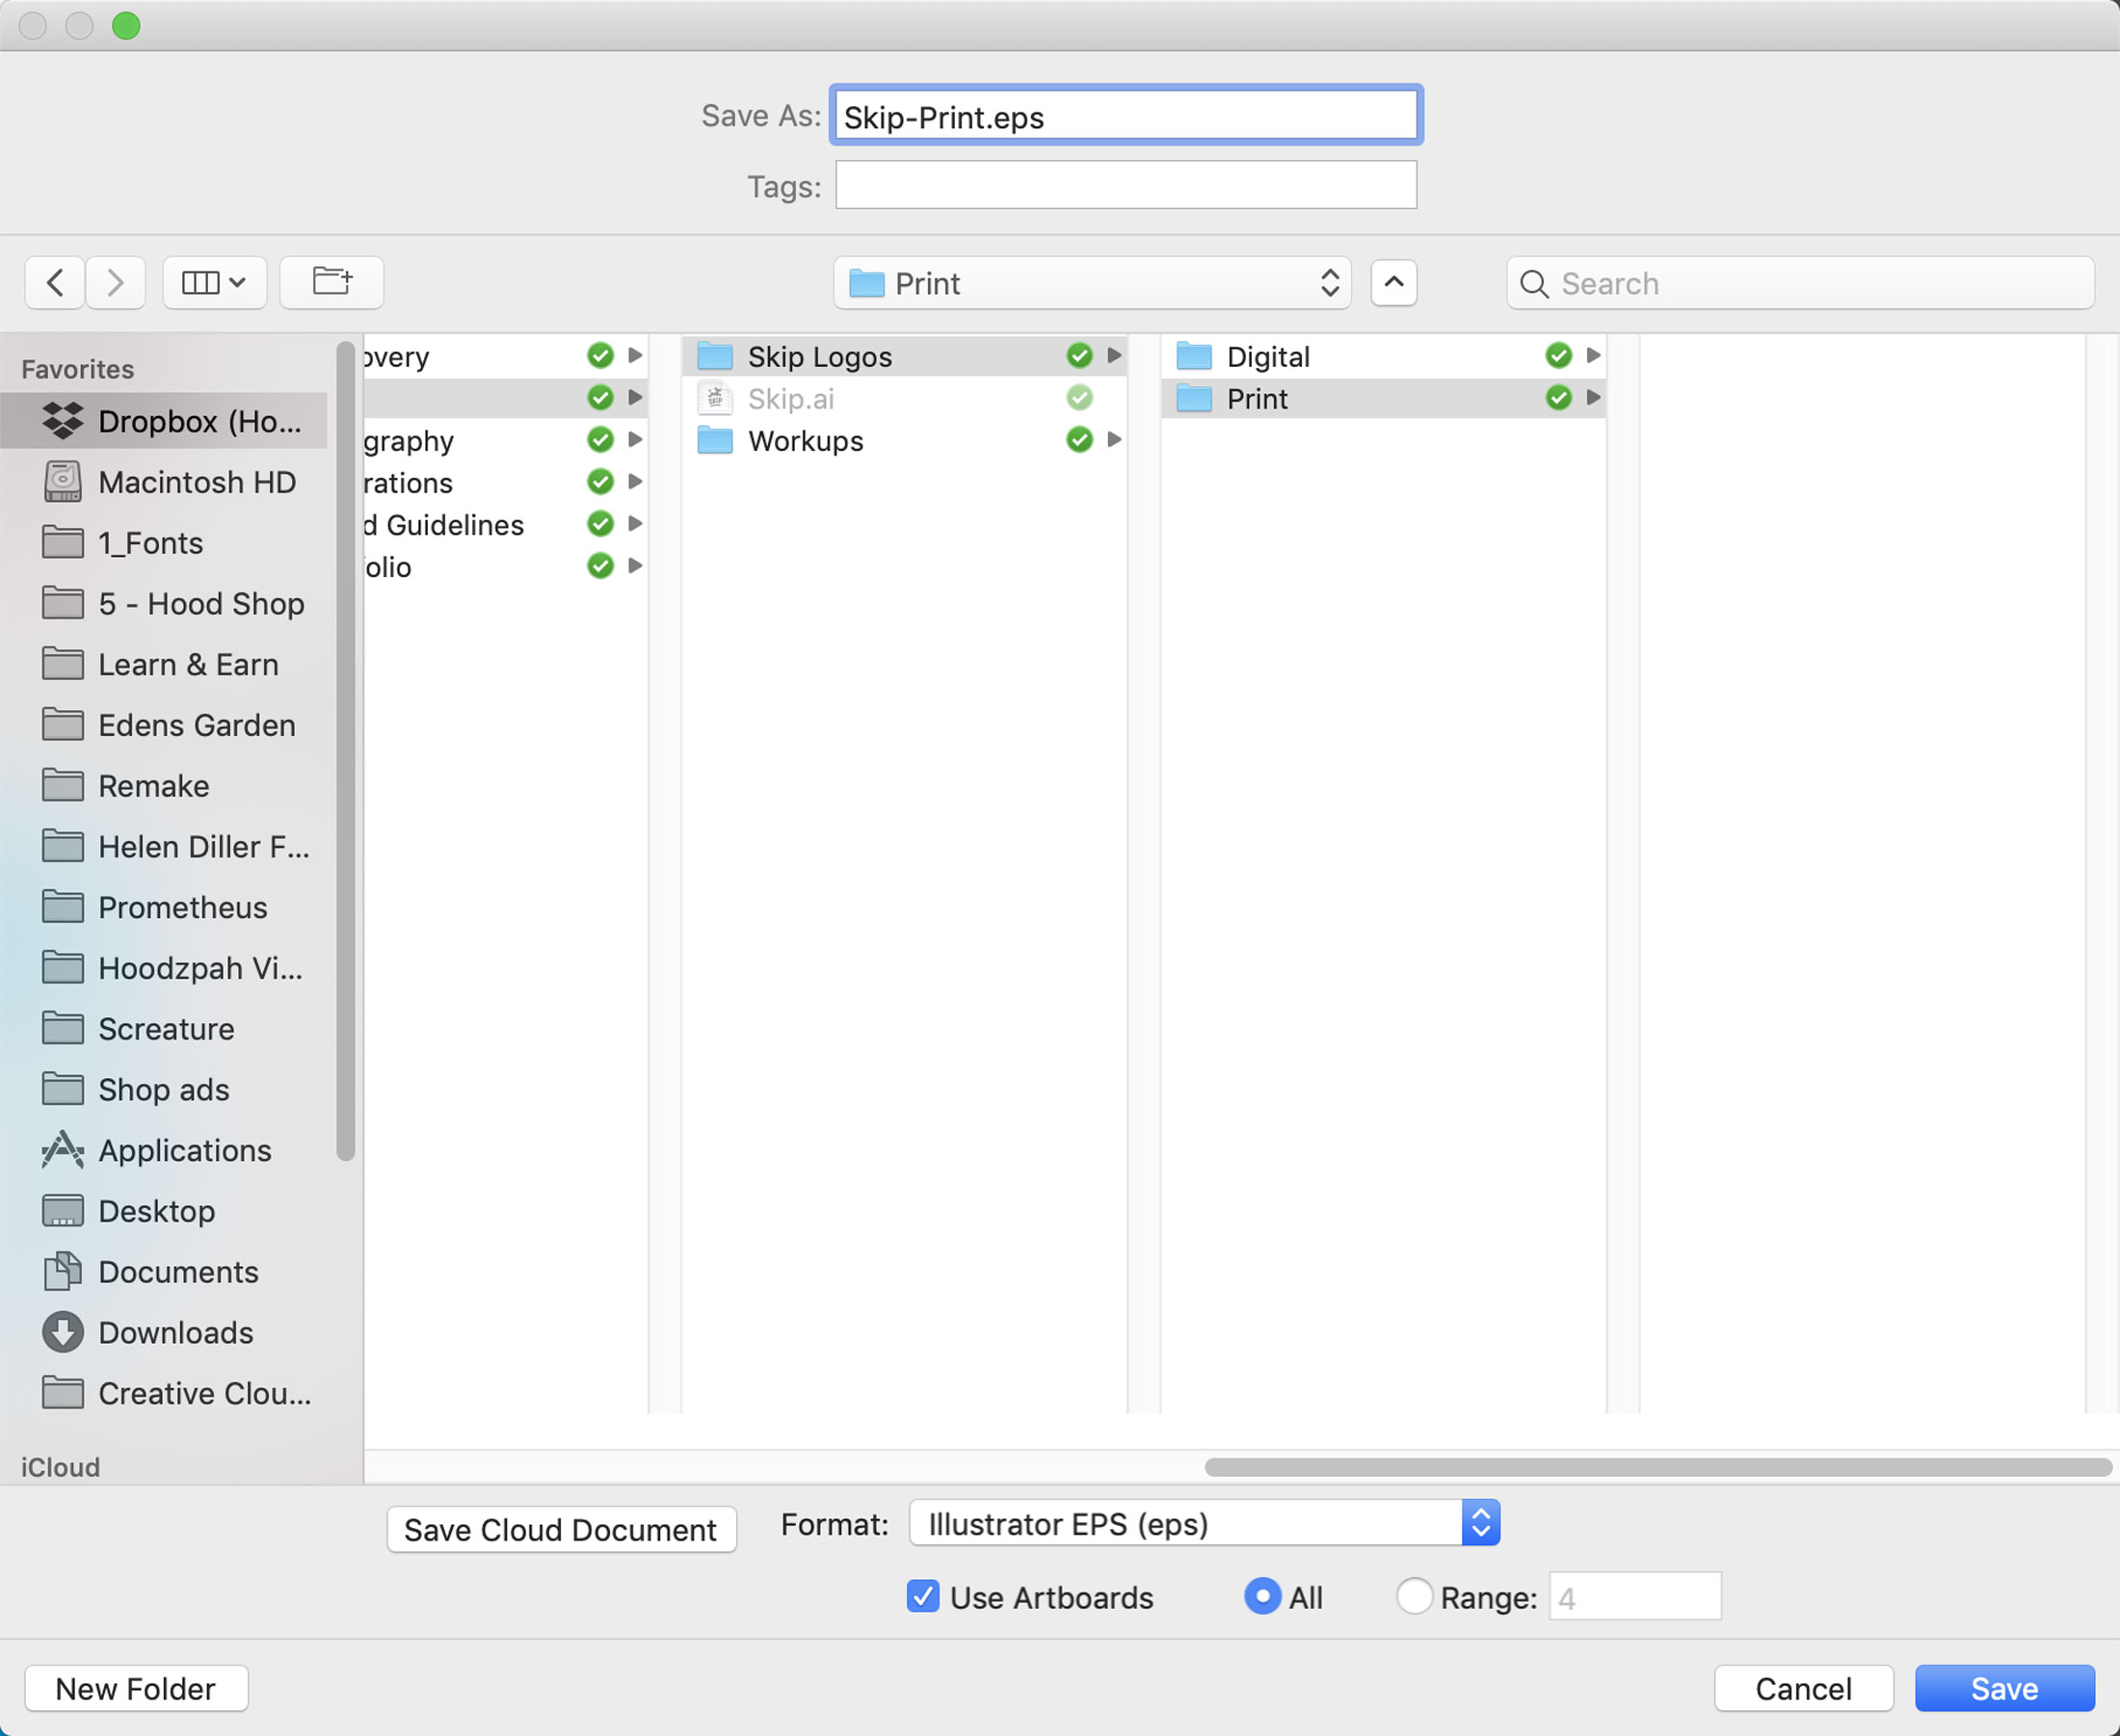
Export these by selecting File > Save as.
In the “Save as” dialog box:
1. Select “Illustrator EPS (eps)” as your Format.
2. Be sure to check/select “Use Artboards”, and check/select “All” so it exports all individual artboards.
3. In your Final Logos folder, create a sub folder named “Print” and then click “Save”
4. Go to the folder where the files exported, and clean it up further by creating subfolders for Color (with subfolders for “CMYK standard printing” and “Pantone printing”), Black, and Reverse. This will help your client in future when they need to choose which file to use.

If you have Dropbox, you can send a link to the client to download. Or you can create a Zip file of the folder and send it to your client via WeTransfer. Be sure the client knows that they are responsible for keeping a copy of their files somewhere safe. You can say it nicely, like this “While we try and keep backups of all our client work, it’s up to you to save a version of these final files on your own servers. If for some awful reason our servers go down or are destroyed in a fluke fire, you need to have your own copy. So save these to your hard drive, to a backup drive, and maybe even a thumb drive for good measure.”